Doesn’t everyone want one?
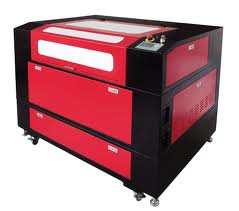 Redsail M900 Laser Cutter Engraver
I found this passage below on “Vancouver Hack Space“
At 80W, this is considered a Class 4 laser device – the most dangerous rating possible. It is in fact 160x the minimum rating for a Class 4 device. This is very, very powerful and dangerous.
To make matters worse, CO2 lasers emit completely invisible IR (infrared) laser beams at 10,640nm. There is no way to know where the beam itself nor any reflections are going. The only thing you can do is completely avoid any possibility that the laser energy will leave the laser cutter.
At 80W, it will instantly vaporize the cornea, lens, and/or retina of your eye. You will instantly and permanently lose your eyesight – and while it scars over it will be complete agony. It will boil your eyeball. According to Wikipedia, “A pop or click noise emanating from the eyeball may be the only indication that retinal damage has occurred i.e. the retina was heated to over 100°C resulting in localized explosive boiling”. Even indirect exposure to the laser beam (or a scattered part of it) can result in blindness.
So with that out the way:
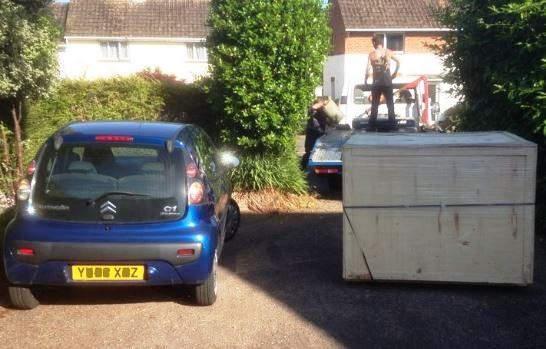
I’d misjudged the weight and size of it but eventually got it delivered, unpacked and shoved into the garage.
It Fits!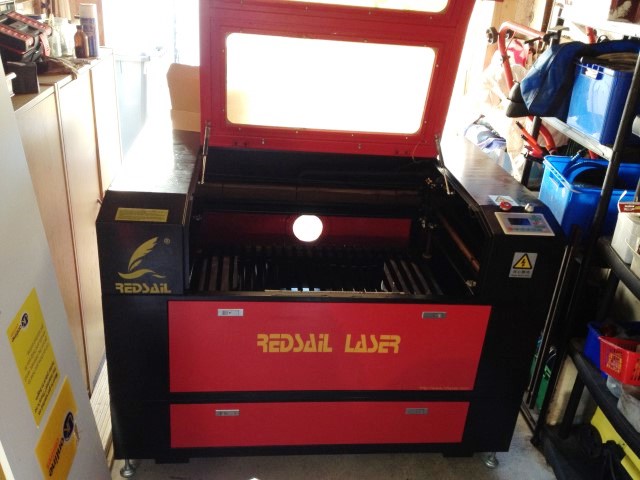
There’s a compressor to blow air over the part you are cutting, a centrifugal blower that blows everything down the driveway and removes smoke and fumes (this I need to hack a bit) and a chiller unit (again, this is going to get some attention).
Before anything else I checked every nut and bolt and wiped loads of grease of the bear metal parts.
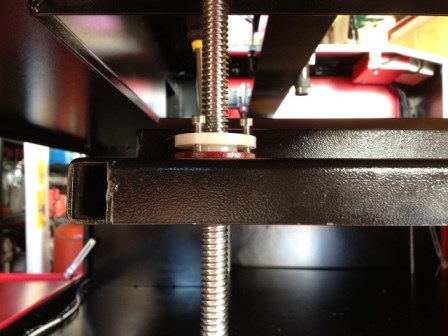
I had to realign the main bed as this was out and one of the beds Z axis screws was binding.
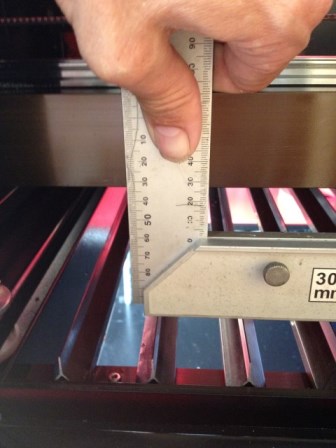
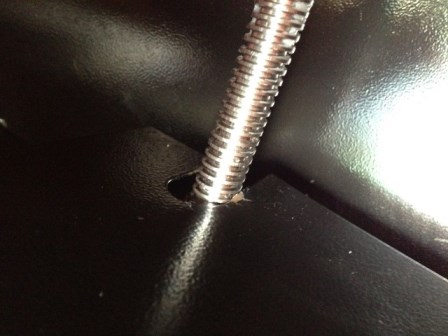
Adjusting the lead screws to align bed.
The scary part is unpacking the laser itself, this is a 60W CO2 laser and is made of glass with another sealed glass tube inside.
Nitrogen and Helium are in there too along with CO2 and they all get excited with some high voltage added.
Mine happed to be the new longer and thinner type so didn’t fit into the mountings, some draft insulation fixed that.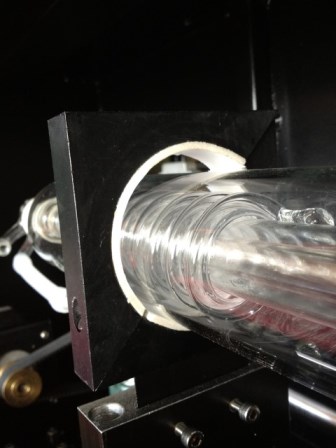
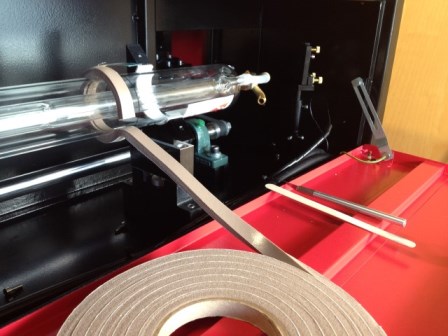
The anode and cathode at each and are supposed to be soldered to the high voltage leads, even after the best attempt I could see this wasn’t a good idea, I don’t know what metal it is but it doesn’t like solder. So these were made from electrical block connectors.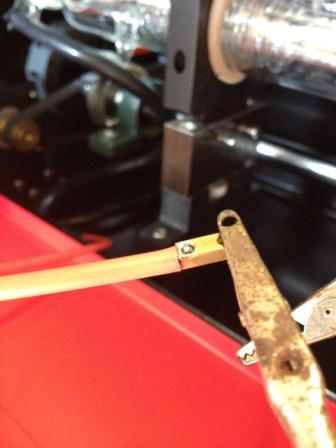
The laser is cooled with a flow of distilled water, distilled because if there’s a crack in the tube the voltage doesn’t travel through it so easy. I’m not sure what does happen but will report back if it does crack.
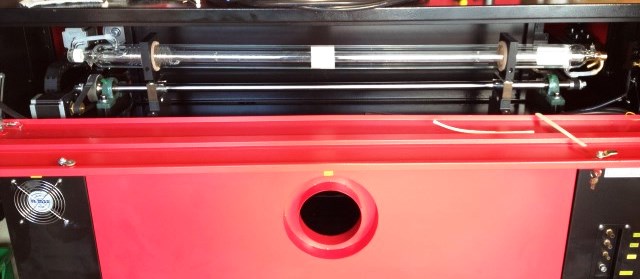
Aligning the laser is a real pain if you have to walk out of the garage to get to the rear.
I used a whole pad of sticky notes and it took me a day and a half.
Here’s one before I burnt it. You can see a slight impression to outline the mirror, with the laser turned down to 20%, eyes closed you press the fire button as quickly as you can. It’s best to remove each mirror as the paper gives off moisture that marks the surface. The height of the laser needs to be set first, then the three mirrors. When you get to the last it’s time to start all over again as by moving the gantry you’ll find it’s not “spot on”.
I could still do more fettling but will leave that a little later when needing to use the full size of the cutting area, 900mm x 600mm.
First cut!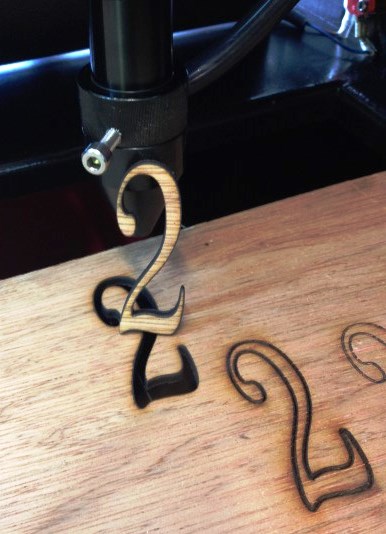
Second cut.
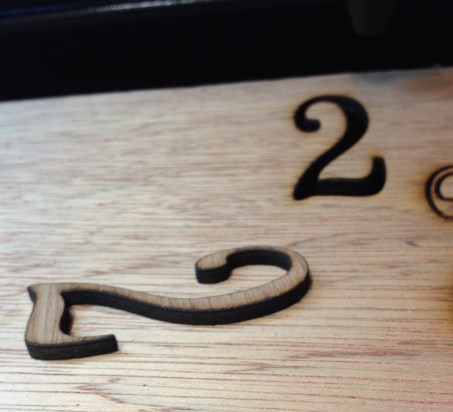
Engraving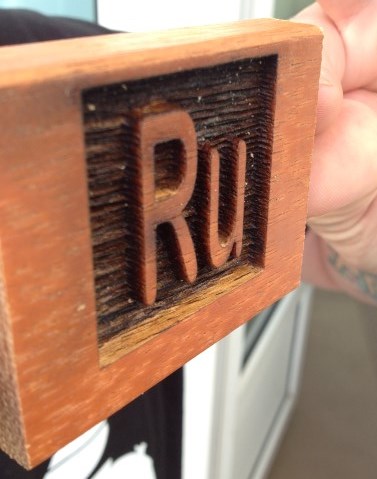
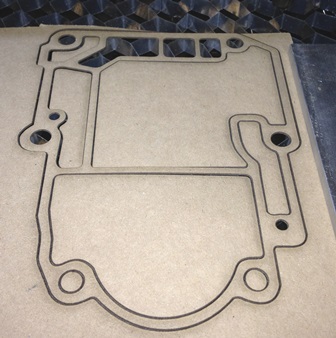
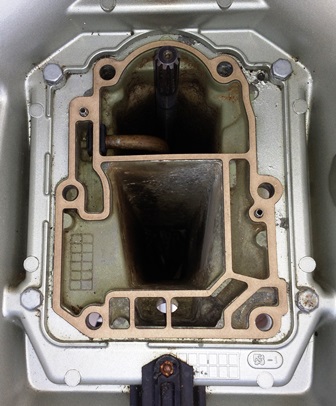
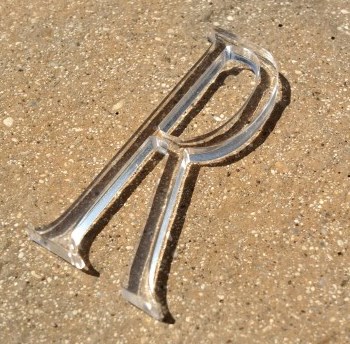
First job was to create a new gasket I needed. Scanned the old broken one in and manually traced a vector around it. Worked first time and was perfect.